In t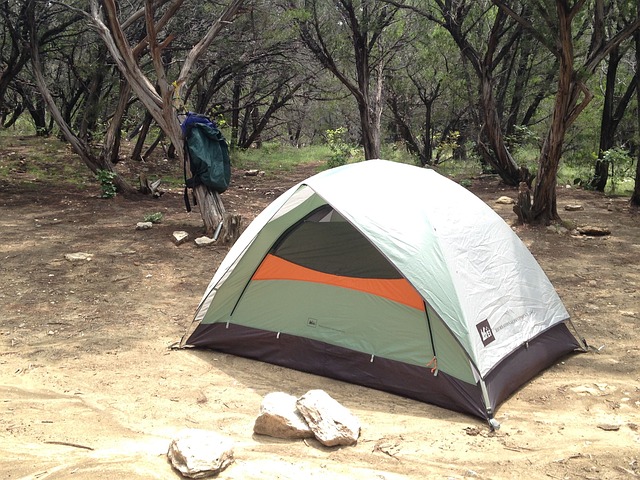 his article I will be explaining exactly how to set up a tent. It does look complicated, but it really isn’t when you know the concept.
Even though every tent is different, the concept is exactly the same, and it’s likely to stay that way for many years to come.
Read on to discover everything you need to know about tent pitching, and find out how to get it done, the CORRECT way.
How to Set Up A Tent
Step 1 – Find a flat area to pitch your tent. If you can’t find somewhere flat, then you have to create your own leveled-surface.
Do this by removing leaves, stones, sticks, and forest duff.
By doing this, you decrease the chances of tearing the floor of your tent.
If you have to camp on vegetation, due to nowhere else to pitch, then it can be, just keep in mind that it can harm the vegetation.
Please note: Avoid camping in valleys, ditches, and bottom of hills. These are the places where flash floods are likely to happen.
Step 2 – Unpack the tent. Lay out the entire tent and the equipment that came with it, giving you a full view of everything you have to work with.
Essentially, doing this will make the whole thing easier for you.
Furthermore, to make it even more easier, place them in respective groups.
- Tent poles
- Stakes
- Rain Fly
- Guy lines
- Etc
Then you won’t have to search for them when you’re trying to pitch the tent.
Step 3 – Place your footprint protector where you will be pitching the tent.
For those of you who don’t know, a footprint protector is designed by the manufacturers of the tent.
It’s shaped exactly like the bottom of the tent, with it’s sole purpose being to protect the flooring, stopping it from ripping and getting abrasion.
This increases the longevity of the tent.
This can be anything from a tarp to the actual footprint protector that was created specifically for that tent.
However, footprint covers are sold separately, so a tarp works just as good and still does the trick.
Be sure to tuck the tarp under the tent as well, this will stop the rain from running down and under the tent, creating a pool effect.
Step 4 – Choose the position of your tent.
If possible, pitch your tent so the door is away from the wind.
This will stop it from flapping through the night, as well as stopping the smoke from your campfire entering the tent.
To get the morning sun, pitch your tent so the door is facing east 🙂
Step 5 – Stake the corners of the tent down.
Make sure the flooring of your tent is taught (really tight) throughout this entire process.
Even if your tent is free-standing, it still needs to be staked down, there are some exceptions to this, such as if there’s no where to stake it down (like on rocks or sand).
But most of the time, tents have to be staked down, and I always I highly recommend you do it anyway.
Step 6 – Connect the tent poles.
More often than not, tent poles are color-coded, making it easier to not mix them up as you pitch the tent.
This exact design is becoming increasingly popular with the latest models, however if your tent doesn’t come with this feature, you may need to read the instructions to avoid any mix-ups.
Step 7 – Erect the tent. There are some factors that are different, but the concept is still the same.
Some tents come as freestanding, and some only have a 2-pole design, these ones can’t be pitched until the entire tent is staked down first.
Whatever tent you have, you’re more than likely going to start with sliding the poles through the sleeves of the tent.
Otherwise, you will have to secure the poles into grommets that are located at the base of the tent, then clipping the tent to the poles with clips.
When you have done that , you are finished! You have successfully chosen the best position and location to pitch your tent and now you have finally got it set up.
There is only one more step to do, and that is to put your RAIN FLY on.
Step 8 – Secure the rain fly to the tent. A lot of you won’t know this, but most tents aren’t actually waterproof.
And that’s why a rain fly is needed (a separate piece of waterproof fabric that goes over top of the tent, stopping rain from hitting the actual tent itself).
You will not see many tents that contain just one wall, while being fully waterproof, and that’s because they are extremely expensive and mostly used by experienced backpackers.
Now is the time to secure your rain fly over top of your tent.
Most of the time, this can be done by securing the fly with cords, clips or ties, that fasten to the base of the tent.
Read the instructions to see exactly how it needs to be done with your specific style of tent.
Conclusion
If you have time before your camping trip, I highly recommend you use that time wisely and practice pitching your tent first.
Even if it’s a couple of weeks before you leave!
Not only will it save you a lot of hassle when you get to the campsite, since you will already know how to pitch it – and be a pro at it too – but you will also be able to spot any defects in the tent and fix any arising issues before they get worse.
Follow the steps outlined above and you will become a tent-pitching master!
Leave a nice comment below, I’d love to hear what you have to say 🙂
Love the tip about facing the door to the east, it never occurred to me, thanks
Hello Dave! Glad you enjoyed it, thanks for stopping by 😀